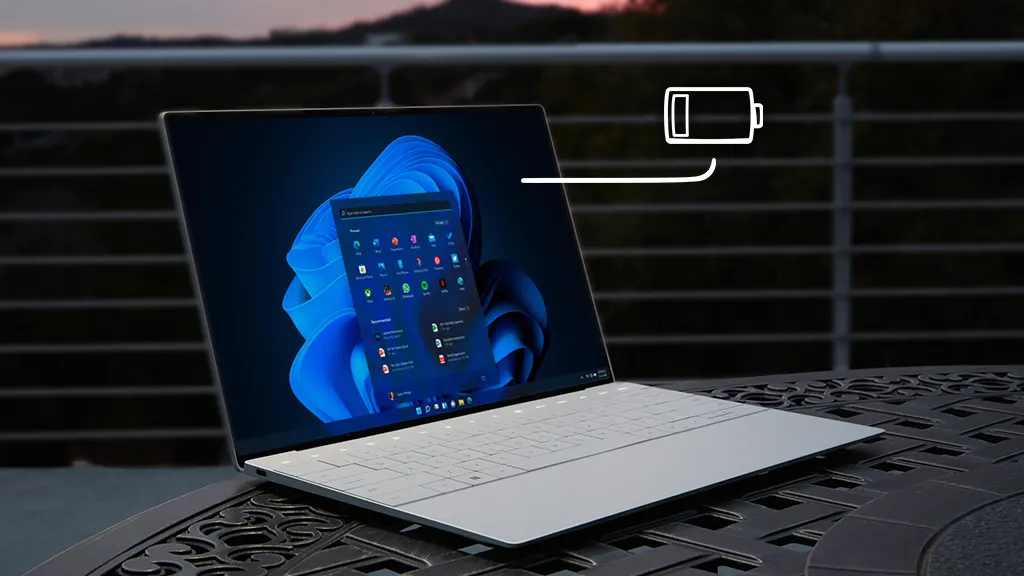
How to replace the battery on your Dell laptop

When your laptop battery starts to show signs of wear—like draining too quickly, overheating, failing to charge, or your laptop shutting down unexpectedly—it might be time for a replacement. These issues don’t mean you need a new computer, just a new battery. Replacing your battery is an easy and cost-effective way to restore your laptop’s performance and extend its life.
At Asurion, we know tech. We don't just protect and repair your devices, we show you how to get the most out of them too. Here's how to replace a Dell® laptop battery.
How to replace an internal Dell laptop battery
Some laptop designs make it easier than others to replace the battery. It usually comes down to whether the battery is external or internal.
If your laptops battery is external—congrats—all you have to do is turn off your device, then slide and hold the battery release latch to remove the current battery.
The trend for newer laptops, however, is to place the battery inside the device, making it a bit harder. Just follow these steps to replace your Dell laptop battery.
1. Turn off your laptop
Sounds simple, right? There are a few things outside of just hitting the Power button that you'll want to do to make replacing the battery a smooth process. Turn off your Dell, and disconnect any accessories connected to the laptop—that includes your power adapter. If you have an SD or SIM card in your Dell, remove it.

Don't let a dead battery slow you down
Schedule a device battery replacement or repair at one of our stores to fix it fast.
2. Remove the laptop's back plate
Dell makes a lot of different models, with a different number of screws and different battery placement. But generally, you'll need to turn over your laptop, and remove the screws holding the back plate in place.
After removing the screws, you may have to pry the back plate off using a plastic pry tool—you could use a guitar pick or flathead screw driver covered with a few spins of tape if you don't have one handy. Glide the scribe along the gap that was made after the screws were removed. The back plate will come right off.
3. Disconnect the battery's power connector
Find and unplug the battery power connector from the system board. Depending on your Dell laptop, the location can vary, though it'll always be in close proximity to the battery.
4. Drain the battery
Even though you disconnected the battery, there might be a little bit of juice left behind. Gently flip your laptop over and press the power button. Give your Dell some time—at least 10 minutes—to use up that charge.
5. Free the battery
Remove the screws holding your battery in place. Again, the number of screws holding your battery might vary depending on your laptop model. Now you can lift and remove the old battery.
6. Insert the new battery
Using the alignment hooks, set the new battery in place. Working in reverse, you'll replace the screws that held the old. Then connect the battery cable to its power connector.
7. Replace the backplate
Carefully align your laptop's backplate with the screw holes, snap it into place, and put that screwdriver to work.
8. Get connected, again
If you removed an SD or SIM at the beginning, go ahead and reinsert them. With your laptop's power adapter connected, turn it on.
Give your Dell a moment to get acquainted with its new battery. Stay connected to the power adapter for at least 15 minutes. Your system will automatically return to normal, this time with more battery capacity.
Nothing ruins productivity like a laptop breakdown
With an Asurion Home+® protection plan, you can keep your downtime to a minimum. This one simple plan covers thousands of eligible devices in your home from mechanical and electrical breakdowns, normal wear and tear, and more—from laptops, TVs and tablets to smart thermostats and locks—plus provides 24/7 live support from trusted experts for your tech questions. Learn more about an Asurion Home+ laptop warranty and how you can get peace-of-mind electronics protection.
The Asurion® trademarks and logos are the property of Asurion, LLC. All rights reserved. All other trademarks are the property of their respective owners. Asurion is not affiliated with, sponsored by, or endorsed by any of the respective owners of the other trademarks appearing herein.
- SHARE THIS ARTICLE