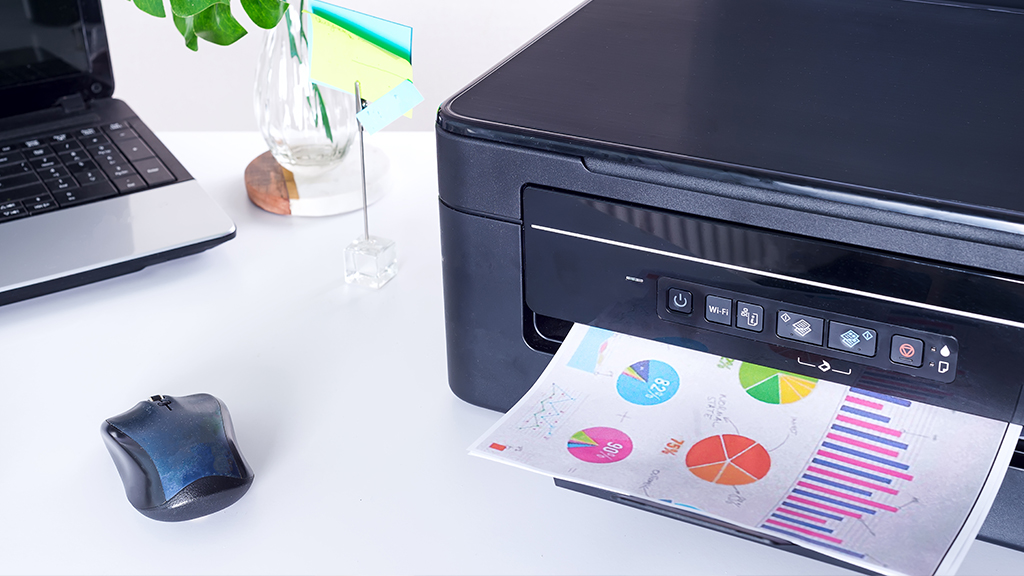
Imagine being able to print from multiple devices—including tablets and smartphones—without having to hook each one up to a bunch of cables. Convenient, right? With a wireless printer, you can do all that plus move your device from room to room—that is, unless you're having trouble connecting to Wi-Fi.
Don't worry though, here at Asurion we help millions of customers with their tech frustrations every day—from fixing an overheating laptop to troubleshooting hotspot issues. If you have an Epson®, Canon®, or HP® device, here are our tips for how to connect a printer to Wi-Fi. NOTE: These steps may not work with all models.
Check the printer setup process
If you're having trouble connecting to Wi-Fi, it may be because your printer isn't connected to your computer. Here's the simple process to it set it up on both Windows™ and Mac® computers and if you need to print from your phone, check out our guide for wireless printing on mobile devices.
How to check printer setup on Windows
- Make sure your printer is on, then select Start on your computer.
- Select Settings > Devices > Printers & scanners.
- If you don't see your printer listed, select Add a printer or scanner and wait for it to find nearby printers.
- Select your printer (look for the manufacturer name and model number).
- Select Add device and enter the password if required.
- Finally, make sure your printer is listed in the Printers & scanners section.
How to check printer setup on Mac
- Select the Apple® menu at the top-left corner of your computer screen.
- Select System Preferences > Print & Scan or Printers & Scanners.
- If you don't see your printer listed, click the + icon, then select your printer from the list.
- Choose your printer's software or driver in the Use field, and click Add.

Our experts have seen it all
Sign up for Asurion Home+ and get 24/7 tech support and device protection—all in one plan.
Connect your printer with a wireless setup wizard
If your printer has a touchscreen, you can use its wireless setup wizard tool to connect it to Wi-Fi. Here's how to connect a printer with your wireless settings:
How to connect your HP printer to Wi-Fi
- Make sure your printer is on and within range of your Wi-Fi network.
- Tap Setup, then tap Network or Wireless Settings.
- Select Wireless Setup Wizard.
- Select the Wi-Fi network name and enter your password.
How to connect your Epson printer to Wi-Fi
- Make sure your printer is on and within range of your Wi-Fi network.
- Press the Home button on the control panel.
- Select Wi-Fi Setup and press OK.
- Press OK until Wi-Fi Setup Wizard appears, then press OK.
- Select your Wi-Fi network on the screen, then press OK.
- Enter your password, then press OK.
- You'll see “Setup Complete" on the screen once you're connected.
How to connect your Canon printer to Wi-Fi
- Make sure the printer is on and within range of your Wi-Fi network.
- Press the Home button on the touchscreen, then press and hold the Wi-Fi button.
- Press the LAN Wireless setup button, then press OK.
- Select your Wi-Fi network from the list and enter your network password, then press OK.
- The Power and Wi-Fi light will stop flashing once you're connected.
Connect your printer to Wi-Fi with WPS
You can also connect a printer to Wi-Fi via your device's Wi-Fi Protected Setup (WPS) mode. This method lets you connect to a wireless network even if you don't know its name. Just make sure you have your wireless router handy to complete these steps.
How to connect your HP printer to Wi-Fi with WPS
- Make sure your printer is on and within range of your Wi-Fi network.
- Put your printer in WPS connection mode:
- Press and hold the Wireless button for five seconds or until the wireless light flashes.
- For the DeskJet 6000/6400 and Envy 6000/6400 models, press and hold the Wi-Fi button and Power button for five seconds until the blue bar flashes.
After about a minute, press and hold the WPS button on the router until the Wi-Fi light blinks. Once the light stops flashing, you're connected.
How to connect your Epson printer to Wi-Fi with WPS
- Make sure your printer is on and within range of your Wi-Fi network.
- Press the WPS button on your router.
- On the printer, press the Home button.
- Select Wi-Fi Setup and press OK.
- Select Push Button Setup (WPS) and press OK.
- Follow the instructions on the printer's screen to complete the setup.
- When you see a Wi-Fi icon with green connection bars in the top-left corner of the screen, you're good to go.
How to connect your Canon printer to Wi-Fi with WPS
- Make sure the printer is on and within range of your Wi-Fi network.
- On the touchscreen, tap WLAN. Then press Start setup.
- Press and hold the WPS button on your router for five seconds, then tap OK on the printer within two minutes.
- When “Connected to the access point" appears on your printer screen, tap OK.
Factory reset your printer
To resolve your Wi-Fi issues, you may need to reset your printer's settings. Follow these steps, then try connecting your device to your wireless network. NOTE: A factory reset will cause you to lose any manual settings on your printer.
How to factory reset your HP printer
- Turn the printer off, then unplug the power cord from the printer for 30 seconds before reconnecting it.
- Turn the printer on while pressing and holding the Resume button for about 20 seconds.
- Once the Attention light comes on, let go of the Resume button. The Attention and Ready lights will cycle while the printer restores factory settings.
How to factory reset your Epson printer
- On the printer's control panel, press the Home button, then select Setup and press OK.
- Select Restore Default Settings and press OK.
- Select Reset Network Settings and press OK. Then select Yes and press OK.
How to factory reset your Canon printer
- On the touchscreen, select Setup.
- Select Device settings, then OK.
- Select Reset setting, then press OK.
- Select Reset all and press OK. Then select Yes and press OK.
Install and update drivers
This might sound daunting, but it only takes a few steps.
How to install and update drivers on Windows
- Go to Start > Settings > Devices > Printers and scanners. Under Related Settings, click Print server properties.
- Under Drivers, select your printer's driver and click Remove > Remove driver and driver package > OK.
- Navigate back to the Printer Server Properties window, then select Drivers > Add. Use the Add Printer Driver Wizard to reinstall your printer driver.
How to install and update drivers on Mac
- Click the Apple menu at the top left, then select System Preferences.
- Select Print & Scan or Printers & Scanners, then select the + button at the bottom left.
- Select your printer, then click the – button.
- Click the + button—if you get a pop-up menu, select Add Printer or Scanner.
- Select your printer from the list, then click the Use menu and choose one of the following:
- Use AirPrint®: If you connected an AirPrint-enabled printer with a USB cable, select AirPrint. If AirPrint isn't in the pop-up menu, your printer doesn't support it.
- Use printer software installed on your computer or downloaded from Apple: Choose Select Software, then find your printer's software and click OK.
- Use printer software from a file on your Mac: Choose Other, then select the file and click Add.
If you've tried these steps and still need a little help, we're right around the corner. Schedule a repair at the nearest uBreakiFix® by Asurion store and our certified experts can get your device back up and running as soon as the same day.
Tech is expensive. Protect it all.
Don't miss a deadline because your devices break down. Protect your home office equipment with Asurion Home+®. From sudden router failure and hard drive crashes to unresponsive keyboards and blank monitor screens, we protect your devices from the unexpected and offer fast repairs from trusted experts whenever you need them. To learn more, visit asurion.com/homeplus/.


